In this blog post I am going to explain to you – Why you don’t need to buy external microphones anymore.
With Adobes “AI” audio enhancer – you can get quality audio from onboard camera-microphones or directly from your smartphone, or GoPro
You can also watch this blog post as a video here:
Audio is arguably more important than video, on YouTube
In content creation – we are used to the saying “fifty percent of a good video is good audio”.
But personally i’ll go as far as to say that any camera in 2023 is good enough for YouTube
It will not be the camera quality that is in your way.
But Audio is more difficult
You can’t just go an buy a good microphone and expect to have good audio
Audio depends on many factors, like room acoustics, background noise etc.
But it is getting easier.
Traditionally – if you want to enhance the audio experience, you’d have to work with soundproofing, expensive microphones and so on.
This could be a a relic of the past – and in the future all you need is either a camera or simply just your smartphone
How to enhance audio for free.
Using the software from adobe is super easy.
But there is just some steps you’ll need to take, in order to get this working the right way.
#1 Open your video in your editing software.
First of all you need to only get your audio from your video file
I’m using DaVinci Resolve and the way I’m going to do this – I’m just going to put in my video in DaVinci, just by dragging the file directly to the timeline.
Here’s a quick tip:
if you have multiple clips, that you want to enhance the voice on, like you’re filming from a whole day, or maybe from several days – put it all into one project into DaVinci, or into your Premiere and then export it together.
This makes the process 100 times easier.
In the video for this post, I’m going to show you why – because when you’re going to match it up afterwards you’re only going to match up one clip with the sound.
#2 Export project as Audio
I’m just going to export it as audio only.
Make sure to export it as .mp3 or .wav
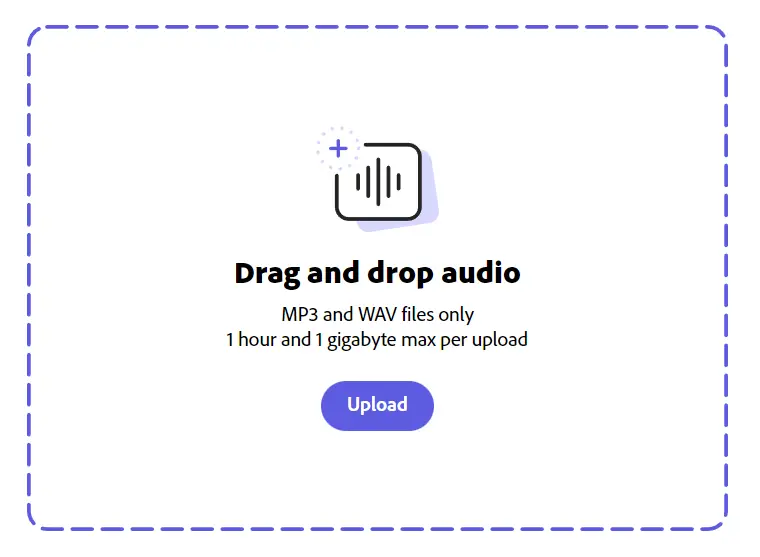
#3 Upload your file to Adobe Enhancer
Go to podcast.adobe.com/enhance and upload the audio file
if you can’t find the file in your folder – it’s because its not .mp3 or .wav
You cant upload a video either – that would have been cool.
It will start enhancing the speech – and when it’s done it will show – and you can play it online here or you can just download the file
#4 Download the file and add to your video
I’m going to download the file
put it in my folder – and it will automatically put the parentheses (enhanced) around the name – which I think is cool
When the file is ready – I’ll go back into my video-editing software and then just, in my case, drag the audio file into the project
#5 Add the audio to your timeline
Just drag the audio file underneath the main track, and because it’s the same length, this should easiliy align with the main video
Which is why I recommended you put – all your clips into one audio file – and then put it into the editor afterwards
Then cut it into pieces the way you want.
Do this after you have optimized it – it will save you a lot of time.
The proximity rules is still a thing.
When you don’t need a great microphone – it is not to say that you won’t benifit from having a great microphone. – This tool works wonders with a great microphone as well.
But there is something that becomes more important
Being closer to the microphone – the proximity rule.
I’d say being very close to a cheap microphone – is MUCH better than being far away from an expensive microphone.
In the video on my YouTube channel you can see how the audio is enhanced – even with a robot vacuum making noise in the background.
But you’ll also hear, how it falls apart when stepping too far away from the microphone. – There is simply not enough to work with.
In the video i am testing it with a smartphone
- 1 meter away
- 3-5 meters away
- 10 meters away (almost breaks)
- 30 meters away (completely useless)
But if you are doing vlogging or videos for YouTube in general – this is perfect for you.
It’s rare that you are walking 10 or 30 meters away from your camera
And if you do
Just get a cheap wireless microphone – because then you can enhance it afterwards.